Salt And Sacrifice: How To Level Up Your Character
"Salt and Sacrifice" is not an easy game. The 2D action RPG sequel to "Salt and Sanctuary" combines the vertical layout and platforming elements of a Metroidvania with several Soulsborne elements, which makes it a great game for players to check out if they are getting tired of waiting for "Hollow Knight: Silksong." Critics have been loving "Salt and Sacrifice" so far, giving particular praise to the "Monster Hunter"-like mage hunts. There's so much to explore and so many enemies to track down and fight that gauging how much time it takes each player to beat it seems virtually impossible, as many will spend countless hours on the endless hunts to collect each and every last piece of gear available.
Of course, players won't get very far unless they get a solid build for their character. The game has a complex crafting system that allows them to exchange components dropped by enemies for Hunter Tools and other pieces of equipment. All the best gear in the world won't save a character that isn't properly leveled up, however. Here's how to navigate the node system in order to build a powerful character that can fight even the toughest abominations.
Buying health and Starstones
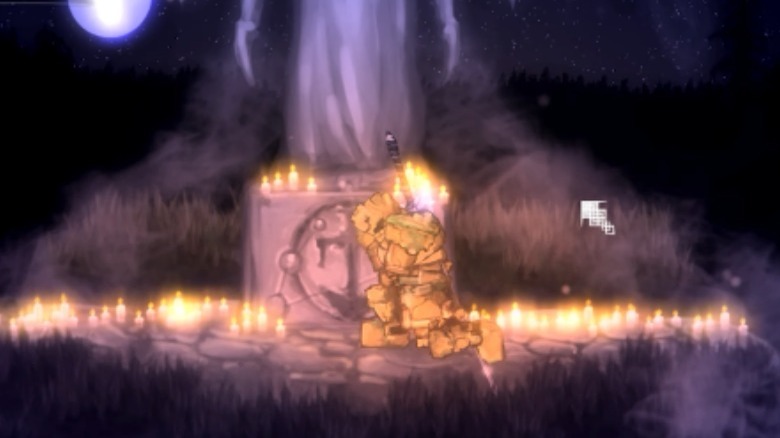
Players can raise their character level by accessing the Level Up menu while visiting the Trifaul Idol in Pardoner's Vale. Much like many other Soulslike games, levels are purchased using built-up experience (or Salt), and the cost of each successive level increases. Every new level rewards the player with a boost to their character's health and an item called a Black Starstone. They will also receive an item called a Gray Starstone every fifth level.
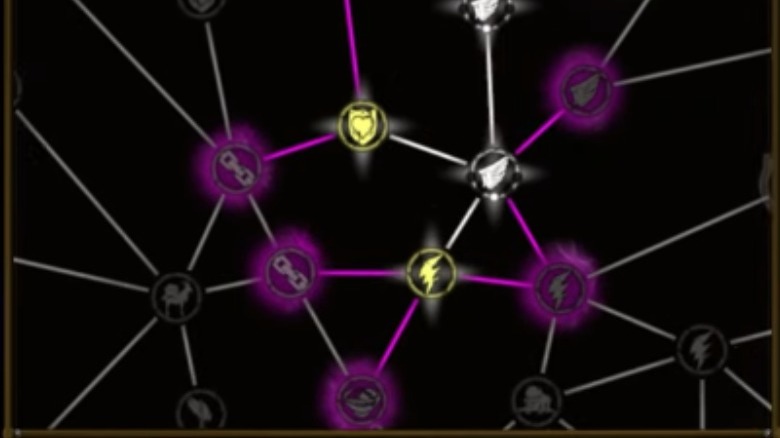
These are the items that characters need in order to utilize the node tree. Black Starstones are used to activate nodes while Gray Starstones are used to return previously spent Black Starstones so that they can be used elsewhere. While it's always best to map out your build as much as possible ahead of time, Gray Starstones are useful if the players find a new piece of equipment that requires specific stats to wield, or if they simply find themselves not enjoying their chosen build. Starstones do not need to be used immediately and can be saved until the player is ready to spend them. Like buying levels, they can only be used at the Trifaul Idol in Pardoner's Vale, however.
Allocating Starstones
Now it's time to spend those Black Starstones and unlock some nodes. The skill tree might initially seem overwhelming, but players should take their time and examine each of the branching paths in order to determine what stats they wish to specialize in, what equipment they want to be able to use, and what kind of fighting style they want their character to have.
Most nodes fall into one of two categories. Stat Nodes are the smaller nodes that are the most prevalent on the tree. They each provide +1 to a given stat and can be purchased up to five times. The larger ones are called Class Nodes. In addition to unlocking stats, these also allow the player to equip different types of armor, weapons, and runic arts. These tend to cost more than the Stat Nodes, with some of them costing two or three Black Starstones, but players will need them in order to don the equipment that they have worked so hard to craft.
The tree is generally designed with each branch representing a specific skill set. The route with daggers and light armor will naturally have more Dexterity nodes in order to make a deadly Assassin. The route with heavy armor and large weapons will naturally allow the player to accrue Strength as a Fighter and so on.


